In high-speed PCB design, layout and routing decisions directly determine signal quality. As edge rates increase and timing margins shrink, even small layout choices—such as reference plane transitions or via placement—can introduce significant signal integrity issues.
This article focuses on practical layout and routing best practices for high-speed PCBs, helping engineers minimize reflections, crosstalk, and EMI through disciplined design techniques.
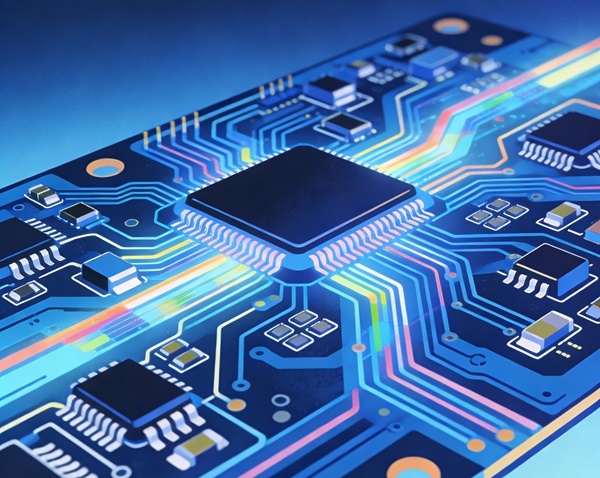
🔗 This article is part of the core topic:
High-Speed PCB Design: Signal Integrity, Layout, and Manufacturing Challenges
Why Layout and Routing Are Critical in High-Speed Designs
At high speeds, PCB traces behave as transmission lines rather than simple connections. Signal behavior is influenced by trace geometry, reference planes, vias, and routing topology.
Poor layout and routing can lead to:
- Impedance discontinuities
- Reflections and ringing
- Excessive crosstalk
- Timing skew and eye diagram degradation
These issues are difficult to fix late in the design cycle, making early layout discipline essential.
Component Placement for High-Speed PCBs
Effective high-speed PCB layout begins with thoughtful component placement.
Key placement principles include:
- Place high-speed components close together to minimize trace length
- Align components to support direct routing paths
- Keep high-speed signal paths short and predictable
- Separate high-speed digital sections from sensitive analog areas
Placement should be driven by signal flow rather than schematic hierarchy.
Controlled Impedance Routing Fundamentals
Controlled impedance routing is a foundation of high-speed PCB design.
Best practices include:
- Define impedance targets early with the chosen stackup
- Maintain consistent trace width and spacing
- Avoid abrupt changes in geometry
- Use reference planes directly adjacent to signal layers
Any deviation in trace geometry or reference plane continuity introduces impedance discontinuities that degrade signal quality.
🔗 Related foundation:
Signal Integrity in High-Speed PCB Design
Differential Pair Routing Best Practices
Differential signaling is widely used in high-speed interfaces such as PCIe, USB, and Ethernet.
Key routing guidelines include:
- Match trace lengths within defined tolerances
- Maintain consistent pair spacing
- Route differential pairs together without separation
- Avoid unnecessary via transitions
Length matching should be applied carefully—over-compensation with serpentine routing can introduce additional discontinuities.
Via Usage and Layer Transitions
Vias are a common source of impedance discontinuity in high-speed PCBs.
Recommended practices:
- Minimize via count on critical signals
- Use back-drilling when required for high-speed links
- Maintain reference plane continuity during layer transitions
- Avoid stubs whenever possible
Via strategy should be aligned with stackup design and manufacturing constraints.
🔗 Manufacturing impact:
High-Speed PCB Design for Manufacturability and Yield
Return Path and Reference Plane Management
High-speed signals always follow a return path. Disruptions in the return path can cause unexpected EMI and signal distortion.
Best practices include:
- Route high-speed signals over continuous reference planes
- Avoid crossing plane splits or gaps
- Use stitching vias near layer transitions
- Keep return paths short and predictable
Return path integrity is often overlooked but is critical for reliable high-speed operation.
Crosstalk and Spacing Control
As trace density increases, crosstalk becomes a significant concern.
To reduce crosstalk:
- Maintain adequate spacing between parallel high-speed traces
- Avoid long parallel routing runs
- Use ground shielding or guard traces when necessary
- Route signals on adjacent layers orthogonally
Spacing rules should be based on simulation and empirical guidelines rather than arbitrary values.
🔗 EMI perspective:
EMI and Crosstalk Control Techniques in High-Speed PCB Design
Routing Order and Design Discipline
High-speed routing should follow a clear priority order:
- Critical high-speed signals
- Differential pairs
- Clocks and timing-sensitive nets
- Remaining digital and control signals
Routing critical nets first reduces compromises and helps preserve signal integrity.

Validation and Review Before Finalization
Before finalizing a high-speed PCB layout:
- Review routing for impedance consistency
- Check reference plane continuity
- Validate via structures
- Perform SI simulations where applicable
Early validation reduces the risk of costly redesigns.
Conclusion
High-speed PCB layout and routing require disciplined planning, careful execution, and a strong understanding of signal behavior. By following proven best practices—focused on impedance control, return paths, and routing strategy—engineers can significantly improve signal integrity and overall system reliability.
This article serves as a practical reference for layout and routing decisions in high-speed PCB design workflows.
FAQ – High-Speed PCB Layout and Routing
A: A trace requires controlled impedance when its length becomes electrically significant relative to the signal rise time, which is common in high-speed digital designs.
A: Length matching is important for many high-speed interfaces, but excessive serpentine routing can introduce additional impedance discontinuities. Matching should follow interface specifications.
A: Fewer vias are always preferable. Each via introduces impedance changes, so critical high-speed nets should minimize via usage.
A: Auto-routing may assist with less critical signals, but high-speed nets typically require manual routing and review to ensure signal integrity.
A: Disrupted return paths increase loop area, leading to EMI, noise, and signal distortion. Continuous reference planes are essential.
A: Stackup determines impedance, reference plane proximity, and via behavior. Routing decisions must align with the chosen stackup.
A: Crossing reference plane splits with high-speed signals is one of the most common and damaging mistakes.